Seach panel:

community
my networks

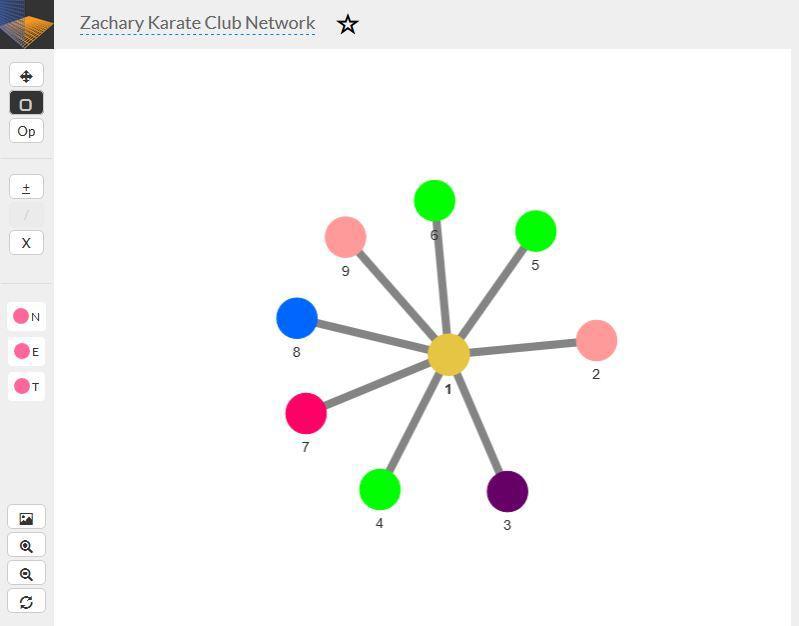
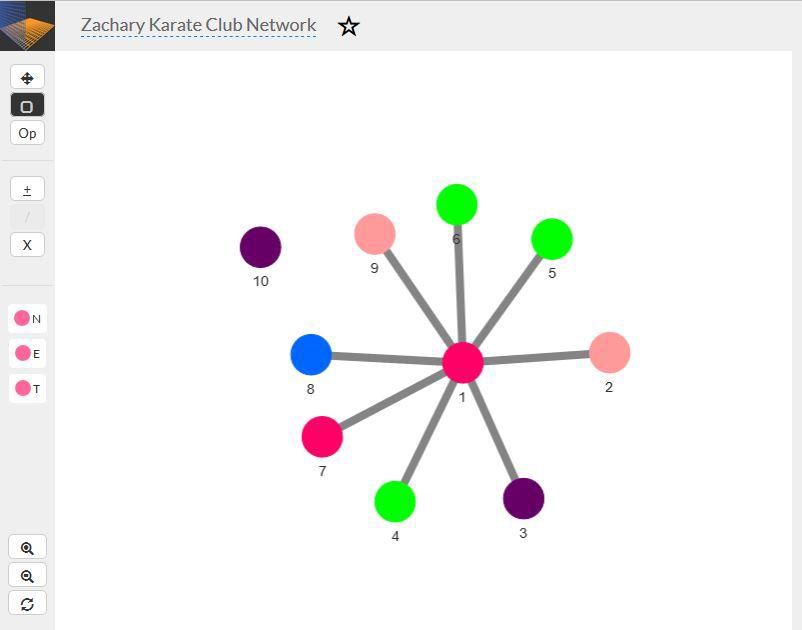
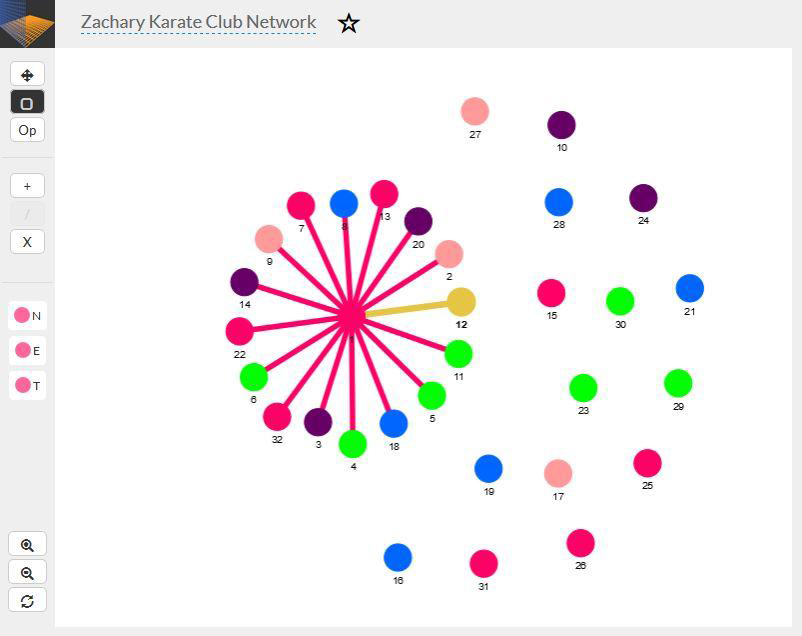
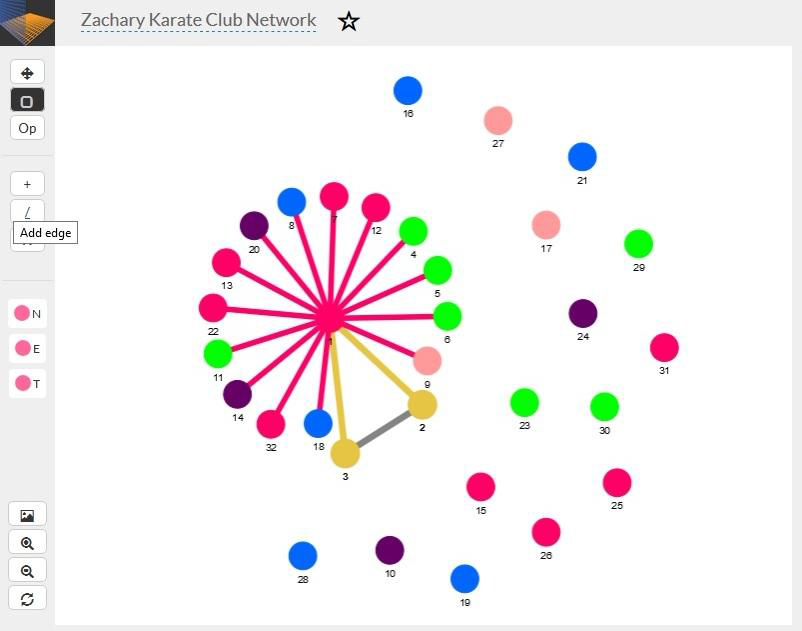
Try NetworkSci Free and Begin Building in One Click. Create Your First Network(No login required)

Lorem ipsum dolor sit amet, consectetur adipisicing elit. Unde, laboriosam.

create a network
Sign Up Free

Learn > Tutorial

Tutorial

Zachary Karate Club Network[1] on Network Analyzer[2] app

It's easy to create and visualize small networks on the network analyzer app. I'll take you step-by-step on how to create your networks on the app. Let's take the example of a well-known and popular small network dataset - Zachary Karate Club Network[1]. The data was collected from the members of a university karate club by Wayne Zachary in 1977. Each node represents a member of the club, and each edge represents a tie between two members of the club. The network is undirected. An often discussed problem using this dataset is to find the two groups of people into which the karate club split after an argument between two teachers.
Let's create this network on the networksci app with the detailed steps given below:
First of all we need to add nodes to the canvas. On the left ribbon on the web app, there is a plus (+) sign which helps you to add the nodes. Just click on the plus sign and a node will appear on the canvas. The project is saved automatically whenever you make any action which modifies the project.
Now, we have the first node on the canvas. We want to add more nodes and edges to the canvas. For that, I would suggest you to keep the edge list of the Zachary network dataset open.
As you would see in the edge list, node 1 is connected to nodes 2,3,4,5,6,7,8,9,11,12,13,14,18, 20,22 and 32. So, now we need to create nodes on the canvas which have edges to the node 1.
Select node 1 on the canvas, and click on the plus (+) sign on the left ribbon on the app. You will see another node with label 2 on the canvas with an edge to the node 1. We don't need to add an edge explicitly between the nodes 1 and 2. In the same way, keep selecting the node 1 and keep clicking on the add node (+) button until you have nodes till label number 9.
If you have followed the above steps up to here, you must have 9 nodes on the canvas amongst which nodes with labels 2 to 9 all must have edges to the node 1. Notice that the nodes on the canvas position themselves on their own while adding new nodes, for better visibility of the network. That's a great feature of the app.

Zachary Karate Club Network[1] on Network Analyzer[2] app

It's easy to create and visualize small networks on the network analyzer app. I'll take you step-by-step on how to create your networks on the app. Let's take the example of a well-known and popular small network dataset - Zachary Karate Club Network[1]. The data was collected from the members of a university karate club by Wayne Zachary in 1977. Each node represents a member of the club, and each edge represents a tie between two members of the club. The network is undirected. An often discussed problem using this dataset is to find the two groups of people into which the karate club split after an argument between two teachers.
Let's create this network on the networksci app with the detailed steps given below:
1. First of all we need to add nodes to the canvas. On the left ribbon on the web app, there is a plus (+) sign which helps you to add the nodes. Just click on the plus sign and a node will appear on the canvas. The project is saved automatically whenever you make any action which modifies the project.
2. Now, we have the first node on the canvas. We want to add more nodes and edges to the canvas. For that, I would suggest you to keep the edge list of the Zachary network dataset open.
3. As you would see in the edge list, node 1 is connected to nodes 2,3,4,5,6,7,8,9,11,12,13,14,18, 20,22 and 32. So, now we need to create nodes on the canvas which have edges to the node 1.
4. Select node 1 on the canvas, and click on the plus (+) sign on the left ribbon on the app. You will see another node with label 2 on the canvas with an edge to the node 1. We don't need to add an edge explicitly between the nodes 1 and 2. In the same way, keep selecting the node 1 and keep clicking on the add node (+) button until you have nodes till label number 9.
5. If you have followed the above steps up to here, you must have 9 nodes on the canvas amongst which nodes with labels 2 to 9 all must have edges to the node 1. Notice that the nodes on the canvas position themselves on their own while adding new nodes, for better visibility of the network. That's a great feature of the app.
6. Now after clicking the add node (+) button, node with label 10 will be added to the canvas but we don't want node 10 to have an edge to the node 1. So, deselect the node 1 by clicking anywhere on the empty area on the canvas. Now, add the node 10 using (+) button.
7. In the same way, you can add other nodes to the canvas, keeping the node 1 selected or deselected depending on the case whether there is an edge needed between the new node and the node 1.
8. Up to here, you will have a canvas with 32 nodes on it, and some of them having edges with the node 1.
9. Now we need to move to the node 2 on the edge list and see it has edges with which other nodes in the network. If you see, node 2 has edges with the nodes 1,3,4,8,14,18,20,22 and 31. If you look at the canvas, there is already an edge between nodes 2 and 1. We need to add edges from node 2 to other nodes too.
10. If you notice, up to step 9, we haven't added an edge explicitly between the nodes on the canvas. Whatever edges are there in the network, they were added automatically while adding new nodes. Now, we are going to explicitly add edges between the nodes.
11. On the left ribbon on the web app, there is forward slash (/ ) sign, which helps you to add the edges between selected nodes. This button will be seen disabled until you select at least 2 nodes on the canvas. The selected nodes are displayed in dull yellow or golden color. For example, we need to add an edge between nodes 2 and 3. So, select the nodes 2 and 3, and click the add edge (/) button which will be enabled now. An edge must have been added between the nodes 2 and 3.
12. In the same way, you can add edges from other nodes i.e. (4,8,14,18,20,22 and 31) to the node 2. After this step, you will have 32 nodes on the canvas and all the edges from nodes 1 and 2 to other nodes.
13. To complete the remaining network, you have to follow the same steps as up to here. To summarize,
  1. If you have to add a new node to the canvas which will have an edge to the existing node on the canvas, just select the existing node and click on the add node (+) button. A new node will be added to the canvas with an edge to the selected existing node.
  2. If you need to add an edge between the two existing nodes on the canvas, just select both the nodes, and click the add edge (/) button. An edge will be added between the selected nodes.
  3. If you want to remove a node or an edge, you can do so by selecting the particular node or the edge, and clicking on Delete (X) button, also on the left ribbon on the app.
14. After you have completed the whole Zachary karate club network with all the 34 nodes and around 78 edges on the canvas. It must look something like as below.
15. Now, Zachary karate club network is roughly divided in to two groups, which is evident from the created network as well. The two groups are clustered around nodes 1 and 34 respectively. Node 1 stands for the instructor, node 34 for the club administrator / president.
16. If you notice on the canvas, the nodes have kind of clustered already in to two groups. That's a feature of the app itself that clusters/groups or keeps closer the nodes which have edges between them. But we also want to make the two groups a little distinguishable. To make the groups distinguishable, we will color the nodes in two groups in two different colors.
17. We need to select all the nodes that we want to color in the same color. We can select multiple nodes by clicking on the canvas and dragging over all the nodes to be selected. If still some nodes are left, or more nodes have been selected during dragging, you can just hold the Ctrl key and click on the node to be selected or deselected.
18. After all the required nodes or nodes in one group are selected, click on the Node Color (N) button on the left ribbon. On click, color palettes will pop-up, just select the color from the palette and all the selected nodes will have that color. Color the other group in a different color in the same way.
19. You can also color the edges in the groups in the same color as the nodes in that group. For that there is Edge Color (E) button on the left ribbon. Again, just select all the edges in a group by dragging or holding the Ctrl key and hit the (E) button to get the color palettes.
20. It should look something like as below after you are done with the coloring. If you see, edges are a little less opaque in the below network. I did it intentionally for better visibility of the network.
21. The Color Opacity option is available under the Edges sub-tab within the NEW tab. You can also play with other options and menus on the app.
Before closing the project, you should click on the Store Positions option available under the Nodes sub-tab within the NEW tab. This will make sure that you find all the nodes in the same position as now after you re-open your project after closing.

References:

[1] W. W. Zachary, An information flow model for conflict and fission in small groups, Journal of Anthropological Research 33, 452-473 (1977).
[2] http://networksci.com/

Quick Start

Last updated: July 18th, 2018

Download

Lorem ipsum dolor sit amet, consectetur adipiscing elit. Morbi nec imperdiet turpis. Curabitur aliquet pulvinar ultrices. Etiam at posuere leo. Proin ultrices ex et dapibus feugiat link example aenean purus leo, faucibus at elit vel, aliquet scelerisque dui. Etiam quis elit euismod, imperdiet augue sit amet, imperdiet odio. Aenean sem erat, hendrerit eu gravida id, dignissim ut ante. Nam consequat porttitor libero euismod congue.

Download PrettyDocs

Installation

Step One

Lorem ipsum dolor sit amet, consectetuer adipiscing elit. Aenean commodo ligula eget dolor. Aenean massa. Cum sociis natoque penatibus et magnis dis parturient montes, nascetur ridiculus mus. Donec quam felis.

Default code example:

bower install <package>

npm install <package>

Step Two

Lorem ipsum dolor sit amet, consectetuer adipiscing elit. Aenean commodo ligula eget dolor. Aenean massa.

Un-ordered list example
  • Lorem ipsum dolor sit amet.
  • Aliquam tincidunt mauris.
  • Ultricies eget vel aliquam libero.
    • Turpis pulvinar
    • Feugiat scelerisque
    • Ut tincidunt
  • Pellentesque habitant morbi.
  • Praesent dapibus, neque id.
Ordered list example
  1. Lorem ipsum dolor sit amet.
  2. Aliquam tincidunt mauris.
  3. Ultricies eget vel aliquam libero.
    • Turpis pulvinar
    • Feugiat scelerisque
    • Ut tincidunt
  4. Pellentesque habitant morbi.
  5. Praesent dapibus, neque id.

Step Three

Lorem ipsum dolor sit amet, consectetuer adipiscing elit. Aenean commodo ligula eget dolor. Aenean massa. Cum sociis natoque penatibus et magnis dis parturient montes, nascetur ridiculus mus. Donec quam felis.

Code

PrismJS is used as the syntax highlighter here. You can build your own version via their website should you need to.

Useful Tip:

You can use this online HTML entity encoder/decoder to generate your code examples.

HTML Code Example
<!DOCTYPE html>
<html lang="en">
 ...
 <div class="jumbotron">
     <h1>Hello, world!</h1>
     <p>...</p>
     <p><a class="btn btn-primary btn-lg" href="#" role="button">Learn more</a></p>
 </div>
 <div class="jumbotron">
     <h1>Hello, world!</h1>
     <p>...</p>
     <p><a class="btn btn-primary btn-lg" href="#" role="button">Learn more</a></p>
 </div>
 ...
</html>
CSS Code Example
/* ======= Base Styling ======= */
body {
 font-family: 'Open Sans', arial, sans-serif;
 color: #333;
 font-size: 16px;
 -webkit-font-smoothing: antialiased;
 -moz-osx-font-smoothing: grayscale;
}
SCSS Code Example
@mixin transform($property) {
-webkit-transform: $property;
   -ms-transform: $property;
       transform: $property;
}

.box { @include transform(rotate(30deg)); }
LESS Code Example
@base: #f04615;
@width: 0.5;

.class {
width: percentage(@width); // returns `50%`
color: saturate(@base, 5%);
background-color: spin(lighten(@base, 25%), 8);
}
JavaScript Code Example
<script>
 function myFunction(a, b) {
     return a * b;
 }

 document.getElementById("demo").innerHTML = myFunction(4, 3);
</script>
Python Code Example
>>> x = int(input("
Please enter an integer: ")) Please enter an integer: 42
>>> if x < 0:
... x = 0
... print('Negative changed to zero')
... elif x == 0:
... print('Zero')
... elif x == 1:
... print('Single')
... else:
... print('More')
... More
PHP Code Example
<?php
$txt = "Hello world!";
$x = 5;
$y = 10.5;

echo $txt;
echo "<br>";
echo $x;
echo "<br>";
echo $y;
?>
Handlebars Code Example
Handlebars.registerHelper('list', function(items, options) {
var out = "<ul>";

for(var i=0, l=items.length; i<l; i++) {
 out = out + "<li>" + options.fn(items[i]) + "</li>";
}

return out + "</ul>";
});
Git Code Example
$ git add Documentation.txt

Callouts

Lorem ipsum dolor sit amet, consectetuer adipiscing elit. Aenean commodo ligula eget dolor. Aenean massa. Cum sociis natoque penatibus et magnis dis parturient montes, nascetur ridiculus mus. Donec quam felis, ultricies nec, pellentesque eu, pretium quis, sem. Nulla consequat massa quis enim. Donec pede justo, fringilla vel, aliquet nec, vulputate eget, arcu. In enim justo, rhoncus ut, imperdiet a, venenatis vitae, justo.

Aenean imperdiet

Sed ut perspiciatis unde omnis iste natus error sit voluptatem accusantium <code> , Nemo enim ipsam voluptatem quia voluptas link example sit aspernatur aut odit aut fugit.

Morbi posuere

Nunc hendrerit odio quis dignissim efficitur. Proin ut finibus libero. Morbi posuere fringilla felis eget sagittis. Fusce sem orci, cursus in tortor link example tellus vel diam viverra elementum.

Lorem ipsum dolor sit amet

Lorem ipsum dolor sit amet, consectetuer adipiscing elit. Link example aenean commodo ligula eget dolor.

Interdum et malesuada

Morbi eget interdum sapien. Donec sed turpis sed nulla lacinia accumsan vitae ut tellus. Aenean vestibulum Link example maximus ipsum vel dignissim. Morbi ornare elit sit amet massa feugiat, viverra dictum ipsum pellentesque.

Tables

Lorem ipsum dolor sit amet, consectetuer adipiscing elit. Aenean commodo ligula eget dolor. Aenean massa. Cum sociis natoque penatibus et magnis dis parturient montes, nascetur ridiculus mus. Donec quam felis.

Basic Table
# First Name Last Name Username
1 Mark Otto @mdo
2 Jacob Thornton @fat
3 Larry the Bird @twitter
Striped Table
# First Name Last Name Username
1 Mark Otto @mdo
2 Jacob Thornton @fat
3 Larry the Bird @twitter
Bordered Table
# First Name Last Name Username
1 Mark Otto @mdo
2 Jacob Thornton @fat
3 Larry the Bird @twitter

Buttons

Lorem ipsum dolor sit amet, consectetur adipiscing elit. Morbi nec imperdiet turpis. Curabitur aliquet pulvinar ultrices. Etiam at posuere leo. Proin ultrices ex et dapibus feugiat link example aenean purus leo, faucibus at elit vel, aliquet scelerisque dui. Etiam quis elit euismod, imperdiet augue sit amet, imperdiet odio. Aenean sem erat, hendrerit eu gravida id, dignissim ut ante. Nam consequat porttitor libero euismod congue.

Video

Responsive Video 16:9
Responsive Video 4:3

Icons

Lorem ipsum dolor sit amet, consectetur adipiscing elit. Morbi nec imperdiet turpis. Curabitur aliquet pulvinar ultrices. Etiam at posuere leo. Proin ultrices ex et dapibus feugiat link example aenean purus leo, faucibus at elit vel, aliquet scelerisque dui. Etiam quis elit euismod, imperdiet augue sit amet, imperdiet odio. Aenean sem erat, hendrerit eu gravida id, dignissim ut ante. Nam consequat porttitor libero euismod congue.

Elegant Icon Font
elegant icons
FontAwesome Icon Font
fontawesome

Are you an ambitious and entrepreneurial developer?

Instance Theme

Instance - Bootstrap 4 Portfolio Theme for Aspiring Developers

Check out Instance - a Bootstrap personal portfolio theme I created for developers. The UX design is focused on selling a developer’s skills and experience to potential employers or clients, and has all the winning ingredients to get you hired. It’s not only a HTML site template but also a marketing framework for you to build an impressive online presence with a high conversion rate.

[Tip for developers]: If your project is Open Source, you can use this area to promote your other projects or hold third party adverts like Bootstrap and FontAwesome do!

View Demo